Montreal in gigapixels
How to make a gigapixel image
On this page
An idea that stayed with me
The first time I see a gigapixel image is in a web experience created for Ubisoft around Assassin’s Creed Unity. From what I remember, the view looks out over Paris from Notre-Dame. You can zoom into the crowd, look at the characters and discover bits of the story hidden in a huge scene of the French Revolution.
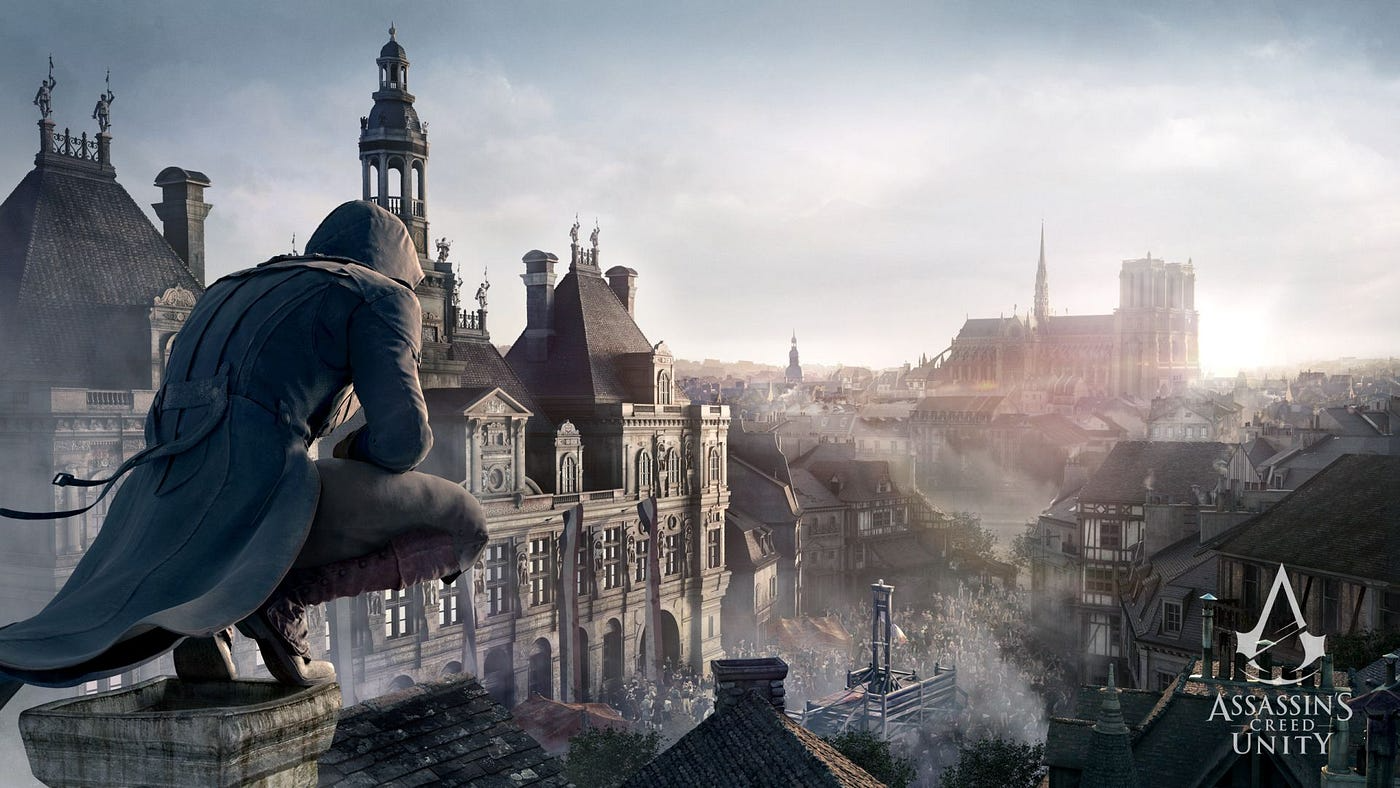
I keep the idea in the back of my mind without thinking much about it. Then one summer day, ten years later, it comes back to me and I wonder if I could do the same with my camera. To find out, I grab my gear and head up to the Mount Royal lookout, where the view of downtown makes a good subject for a first attempt.
The gear
I take what I have: a Nikon D3200 I bought about ten years earlier, a NIKKOR lens set to 300 mm and a $30 tripod. I don’t have a motorized panoramic head, so I move the camera by hand between shots.
The telephoto lens lets me photograph the details of the city, one small area at a time. The tripod keeps the camera steady as I work my way across the view, row by row.
The shoot
A gigapixel image is made by stitching together photos taken with a telephoto lens, each covering a small part of the scene. I shoot row by row, with roughly 30% overlap between photos so I can stitch them together later. I keep the exposure, white balance, focus and focal length fixed throughout the shoot, and save the photos in RAW.
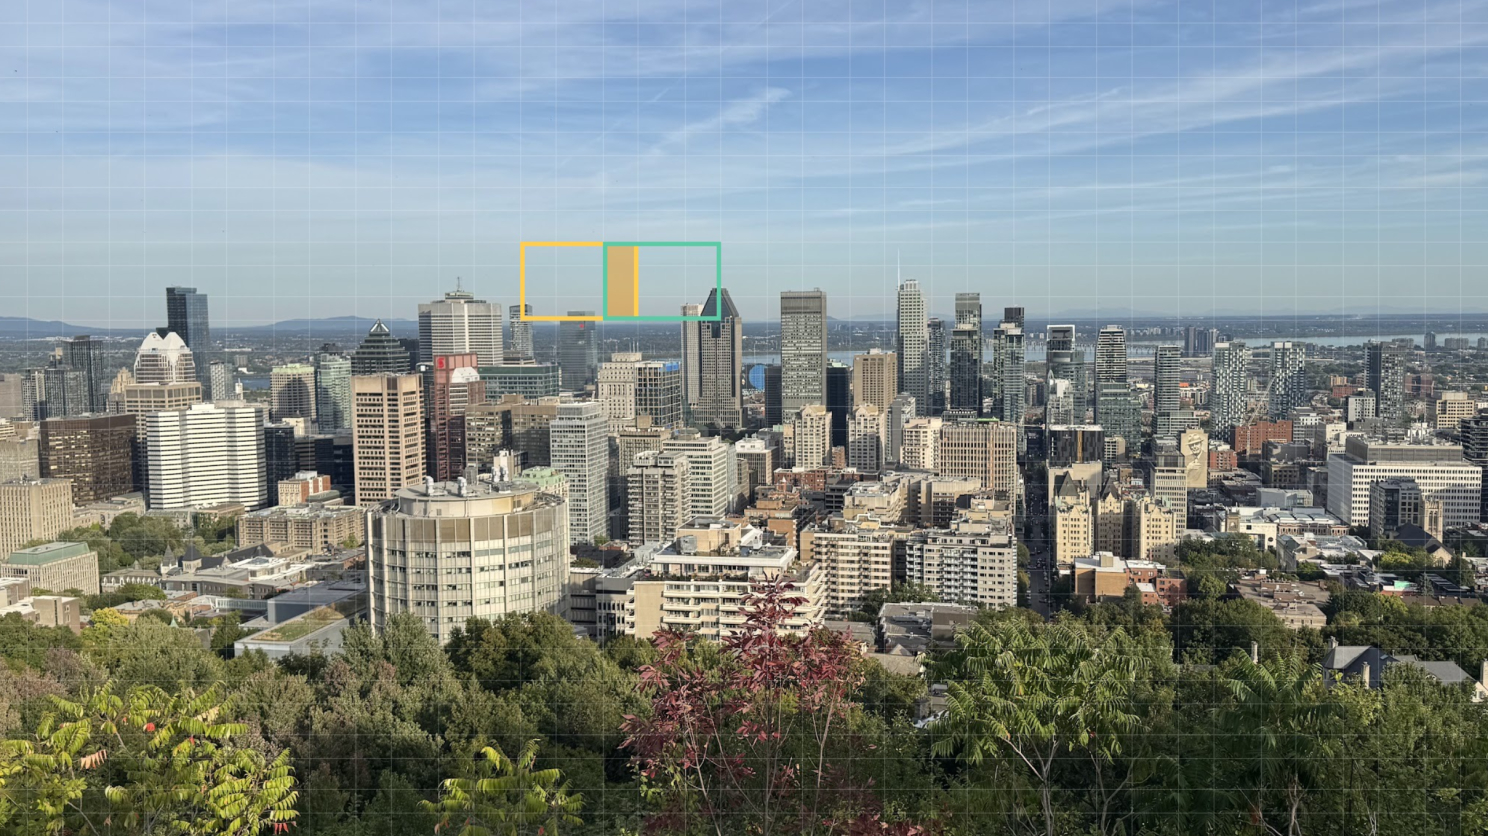
At 300 mm, the slightest movement shows. Each time I move the camera, I have to let the tripod settle before taking the next shot. Over the whole grid, those few seconds add up: the shoot takes about three and a half hours.
I also have to keep an eye on what changes while I’m shooting. The light shifts, shadows move and things don’t stay in the same place. I need enough overlap between neighbouring photos and between rows to avoid gaps in the final image.
A motorized panoramic head would make the movements easier and more consistent. The $30 tripod lets me try this with what I have. It just takes more patience and attention.
Stitching the photos
The next step is to align the photos and merge them in stitching software. The overlapping areas provide the matching details needed to join them. I then check the result, fix any joins that need attention and crop the image.
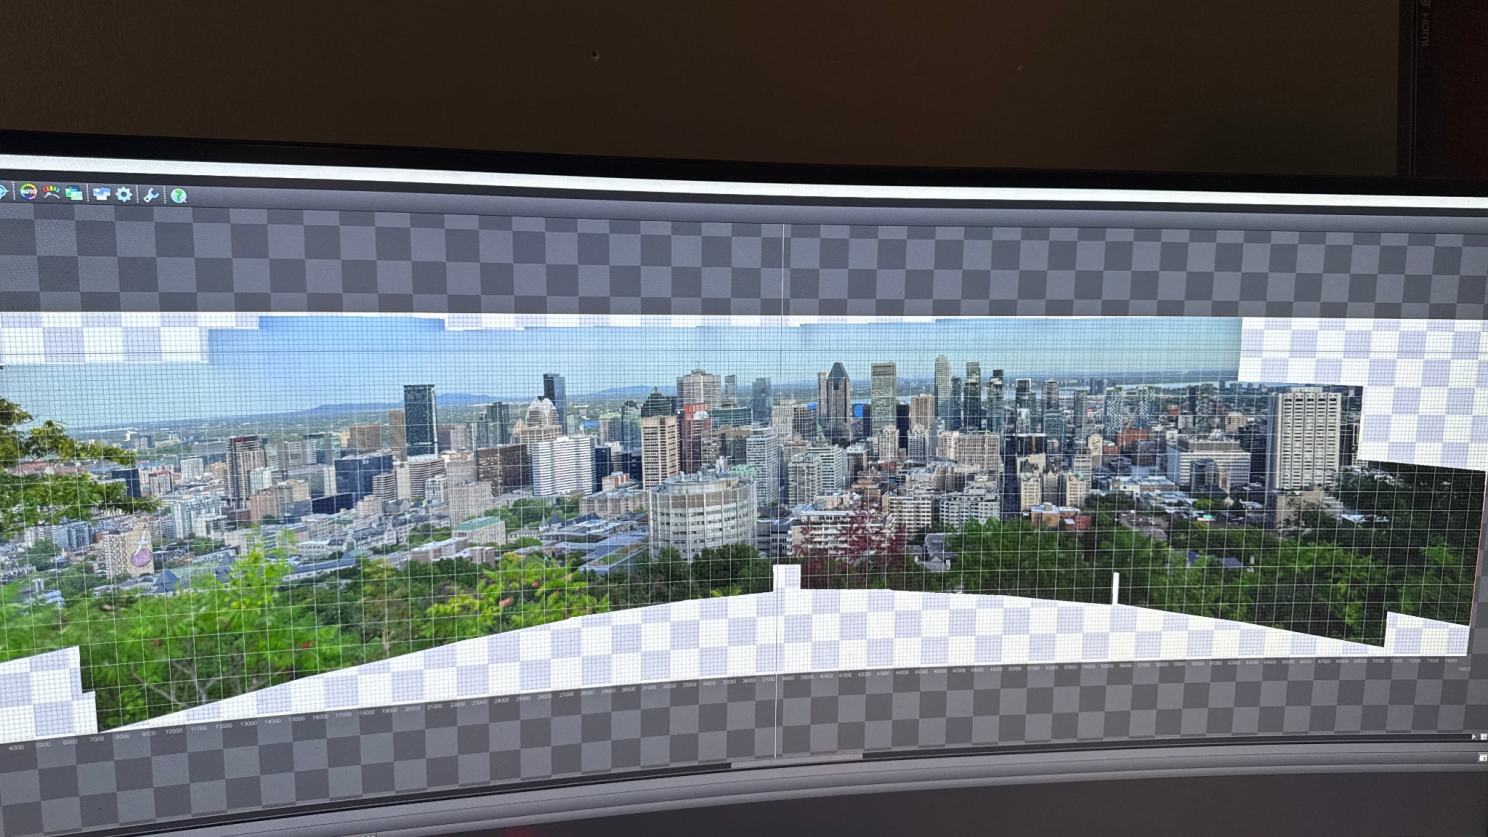
The main things to check are sharpness, differences in lighting and moving objects, which can appear in more than one place or get cut off at a join.
Overlap and cropping reduce the total pixel count compared with all the original photos put together. The result still contains several billion pixels, with a working file of around 4.5 GB in PSB format, the Photoshop format for very large documents.
From image to browser
To put the image on the web, I use libvips and its dzsave command to generate a resolution pyramid in Deep Zoom format.
That gives me several versions of the image at different resolutions, each split into tiles. The browser only loads the tiles needed for the area you’re looking at and how far you’ve zoomed in. You can explore the image without downloading the whole thing.
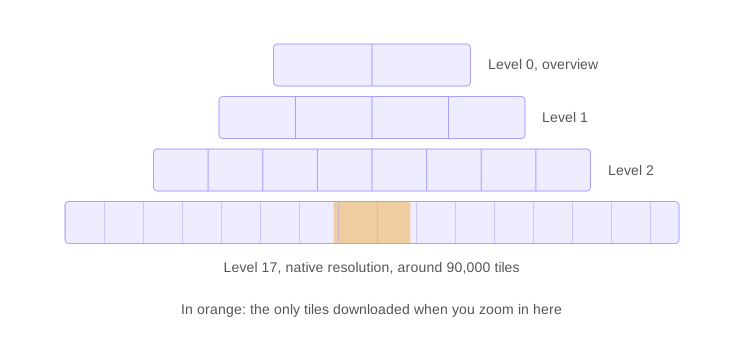
For the viewer, I use OpenSeadragon. It handles panning, zooming and loading more detail as you move in.
These two open-source tools provide the technical foundation. From there, I can focus on the interactions and content to add to the image.
Zoom as a storytelling tool
This is what interests me most about the format: using the zoom level to reveal content.
You can attach text, sound, video or animation to specific areas and have them appear at a particular zoom level. A character in a crowd, a scene behind a window or a clue in a reflection can become the starting point for an interaction.
Visitors choose where to look and in what order to discover things. You can guide them with markers, build a search for clues or let them explore freely.
For a brand, the format can showcase a destination, tell the story of an event or present a collection. An image made for the project can also bring several stories into the same space.
That means giving the details as much thought as the overall view: what catches your eye, what you discover as you get closer and what makes you want to look elsewhere. Those choices are what make the experience interesting.
What I take away
I’m really happy with the result, especially given the gear. Working by hand helps me understand what needs attention during the shoot and what a motorized head would offer: consistent movements and less time between photos.
For the next shoot, it’s mainly the tripod I’d change.